Client Portal Access
Please enter your password to view your project dashboard:
Incorrect password. Please try again.
Client Resources Hub for Vogue Office Furniture
This is a private website dedicated to you as our client, only people with the link can find it.
Welcome to your dedicated playbook for keeping the Vogue Office Furniture website feeling fresh, accurate and delightfully on-brand. This is where we will put any resources that we create for you to help you, stay onto of your website updates.
More resources will be added as you require them.
How to update your website
How to Add, Update, or Remove Products on the Vogue Website, Plus Purchase the updates you want to proceed with.
This resource is designed to make managing website products simple and stress-free.
You do not need to remember processes or second-guess what to do. Follow the steps below and everything else is handled for you.
Watch the Video
Website Update Time
128
Minutes Used
0
Minutes Remaining
30
Monthly Allowance
98
Over Included Time
$308.00
Invoice Amount Inc GST
Billable time is rounded up in 15 minute blocks, so 98 minutes becomes 105 minutes.
Invoice: $280.00 + GST ($28.00) = $308.00
Time log for this month
| Date | Minutes | Task |
|---|---|---|
| 18/08/2026 | 47 | Ran through email request from client |
| 27/08/2026 | 26 | Check and assess "Request a quote" buttons on blog pages. Changes made by VOF... |
| 27/08/2026 | 55 | Fixed "Request a quote" slug, changed password, running diagnosics, fixed link issue and H1 heading, re-run diagnostics, sent report to client. |
Recommended / requested updates
| Type | Update / Note | Est. Time | Qty to Purchase | Resource |
|---|---|---|---|---|
| Requested | [HOLD] New Product "KOTO" HOME OFFICE sit/stand desk 1200mm wide | 90 mins | — | View resource |
Not included: Major changes or updates. EG: Complete rewrites of existing page content, addition of new pages such as services, blogs or products, rebranding, or structural changes to the website. Major changes are defined as those that require more than 30mins to complete.
These changes will be charged at the current hourly rate or price outlined in the current agreement.
Purchased Time & Products
120
Purchased Minutes (Total)
105
Purchased Minutes Used
15
Purchased Minutes Remaining
0
Purchased Products (Total)
0
Products Added
0
Products Remaining
Purchase history
| Date | Type | Quantity | Amount Paid | Notes |
|---|---|---|---|---|
| 27/08/2026 | Time | 120 mins | — | Purchased Time Test - to be deleted. |
Need to update some products on your website?
Click the button below and select how many products you want to add.
- Up to 10 products is $125 + GST per product
- 10 Products Package Price = $1,100 + GST ($110 each)
- 20 Products Package Price = $1,900 + GST ($95 each)
- Other updates charged per hour = $130 + GST
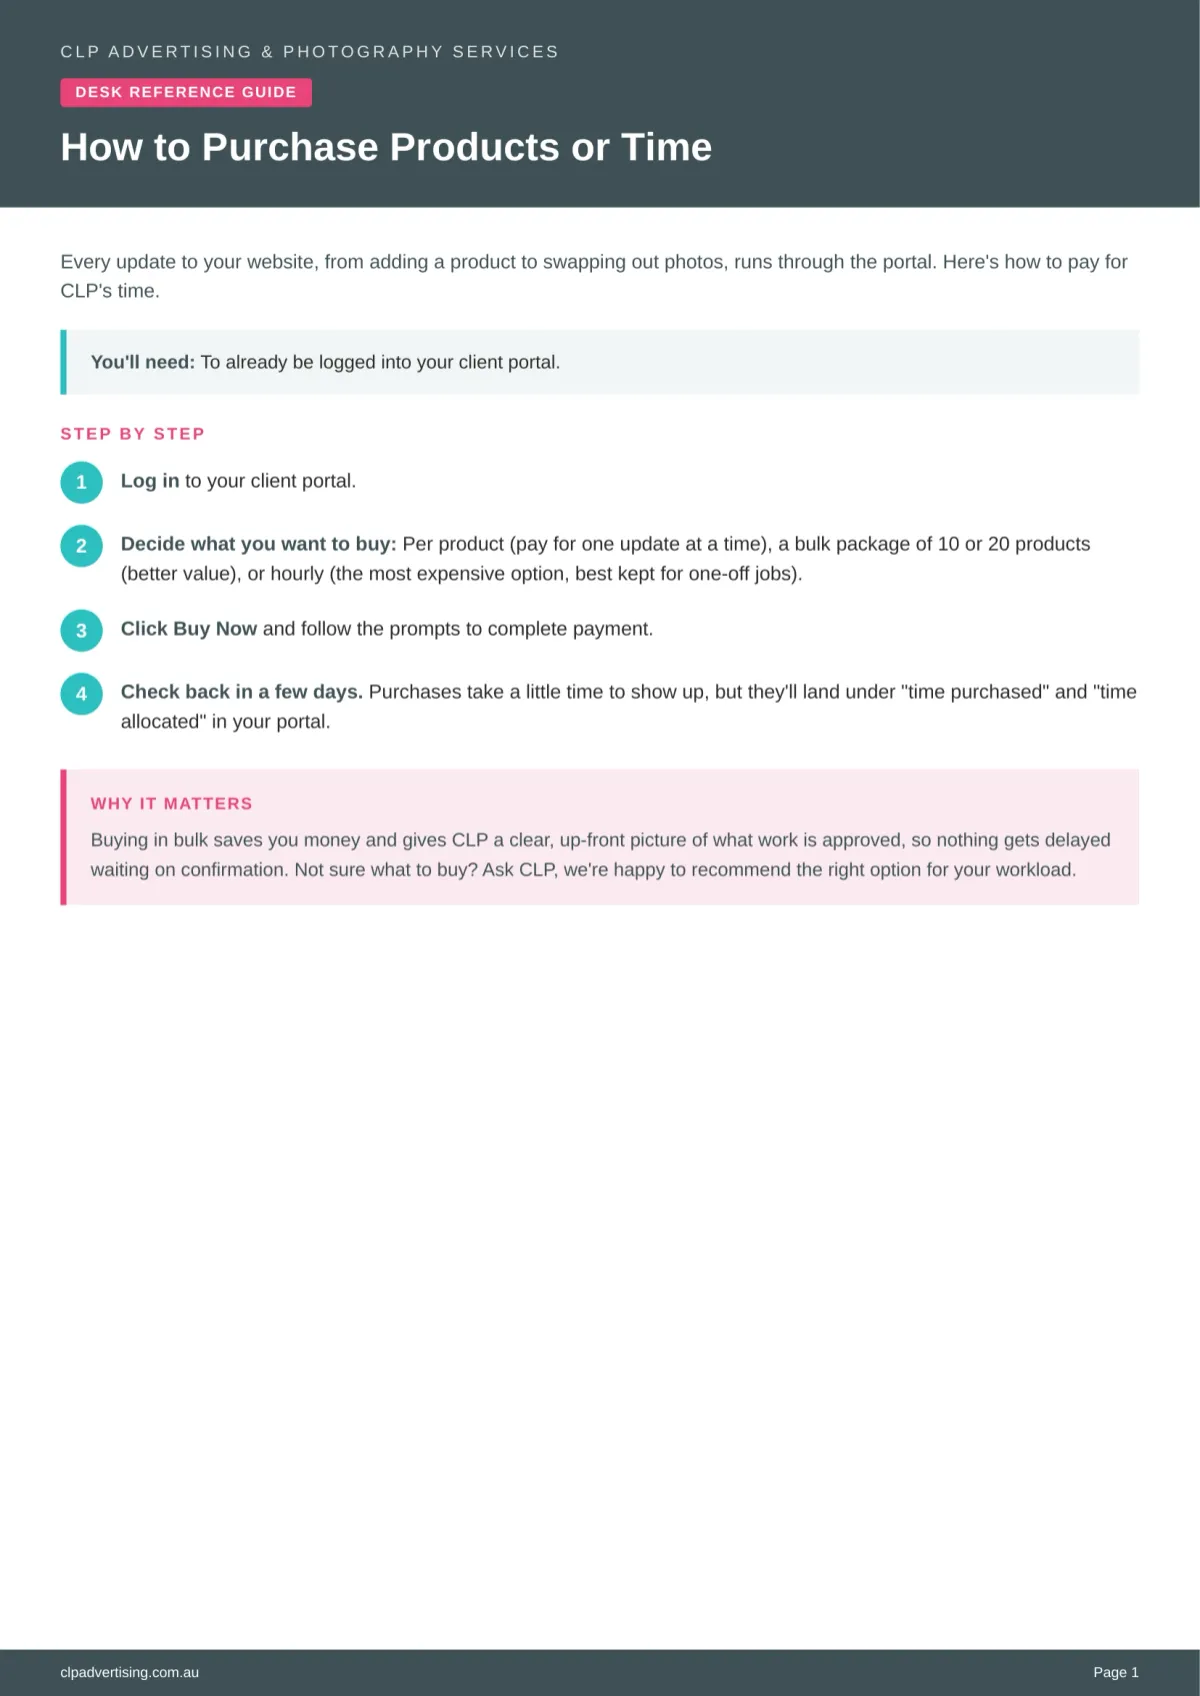
How to Buy Website Updates or Time
Log in to your client portal.
Choose how you want to pay:
Per product – pay for one update at a time.
Bulk package – buy 10 or 20 products. Cheaper per item.
Hourly – costs the most. Use only if nothing else fits.
Click Buy Now.
Wait a few days. Your purchase will show up under "time purchased."
That's it. CLP gets notified and starts the work, once you have submitted your updates.
Click the image on the left to download your Printable Instructions.
Website Access Granted to [email protected] on the 5th August 2026.
Please note: Updates and Changes made by this login that result in the website errors or issues, are not the responsibility of CLP Advertising & Photography Services to fix and are not covered by your annual fee allowance.
Please be sure to check before making major changes.
How to Add a New Product
Fill in the form with as much detail as possiable.
Information needed:
Product Name
Product Description (This is in your words, a short paragraphe to discribe the product)
Supplier Resource Link (See video above to explain how to find it)
Product Images Note: If you have photos you have taken you can load them directly into the folder. (if they are supplier images, I will download them from the supplier website.)
Step by Step How to Instuctions:
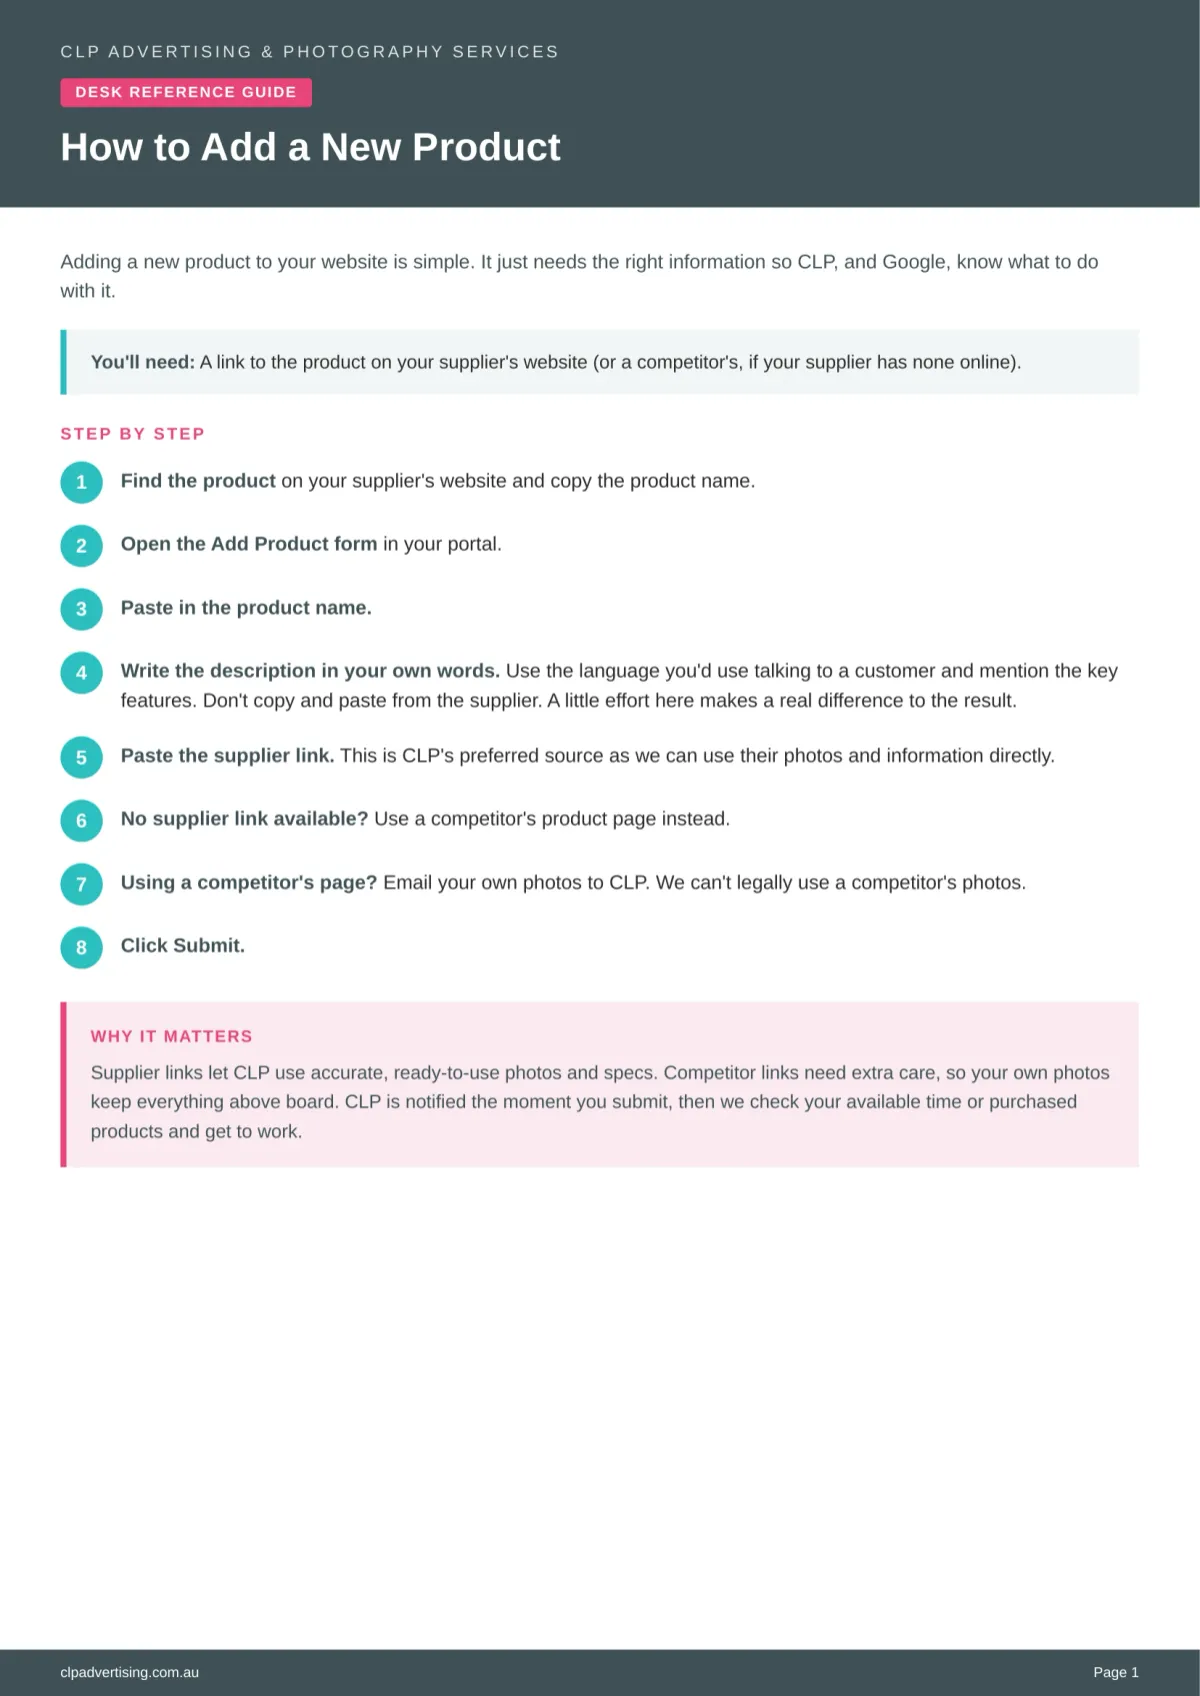
You'll need: a link to the product from your supplier's website.
Find the product on your supplier's website.
Copy the product name.
Open the "Add Product" form in your portal.
Paste in the product name.
Write a short description in your own words. Mention the key features. Don't copy and paste from the supplier.
Paste the supplier link.
No supplier link? Use a competitor's product page instead.
Using a competitor's page? Email your own photos to CLP. We can't use their photos.
Click Submit.
Done. CLP gets notified straight away.
Click the image below to download your Printable Instructions.
How to Update or Remove a Product
Information needed:
Product Name
VOF Website URL
Update or Remove
Removed: Page Type (if Single Product on Page Selected)
Replacement Recommended VOF Product Link
Update: Update Information
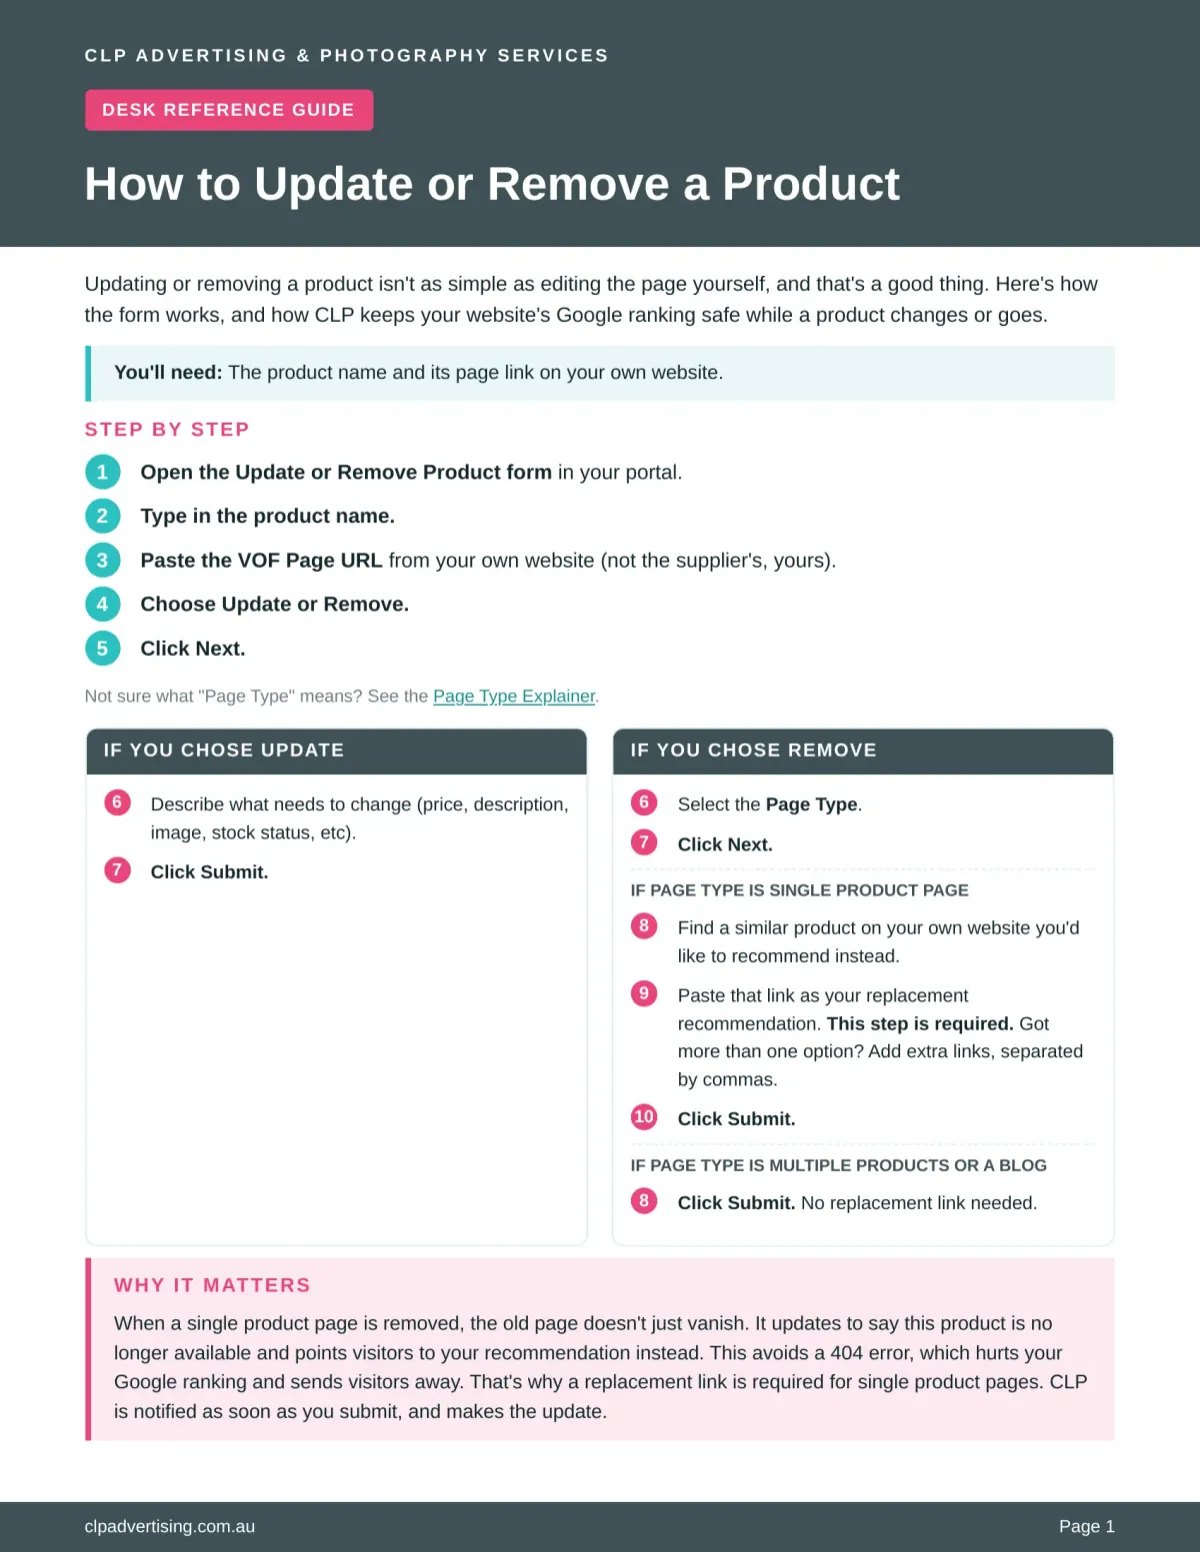
You'll need: the product name and its page link on your website.
Type in the product name.
Paste the VOF Page URL from your website (not the supplier's).
Choose Update or Remove.
Click Next.
If you chose Update
Describe what needs to change (price, description, image, stock status, etc).
Click Submit.
If you chose Remove
Select the Page Type (Explainer below).
Click Next.
If Page Type is Single Product Page
Find a similar product on your own website you'd like to recommend instead.
Paste that link as your replacement recommendation. This step is required.
Got more than one option? Add extra links separated by commas.
Click Submit.
If Page Type is Product Listed with Multiple Products or a Blog
Click Submit. No replacement link needed.
Done. CLP gets notified and updates the page. Your old page won't disappear, it'll point visitors to your new recommendation instead, so you don't lose any SEO.
How to Send Images
If you have your own images for your product, please rename the file to the Product Name - Image 1 - 10 and you have two options:
1) load it into this google drive or
2) Email them to me as an attachment not in a document (the images are to low quality when saved from word)
To load into Google Drive:
Find the image on your computer
click once over the file name
type in the [product name] - Image [#]
repeat for all images
click the button below "Upload Images"
select the images you just renammed
and drag them into the folder that opened when you clicked the button.
Click the image to download your Printable Instructions.
How to update your website information
Find and Copy the URL of the page you would like the update to be made on.
Write detailed Before and After notes about the update being requested.
The Difference Between Product Pages
A Simple Explanation
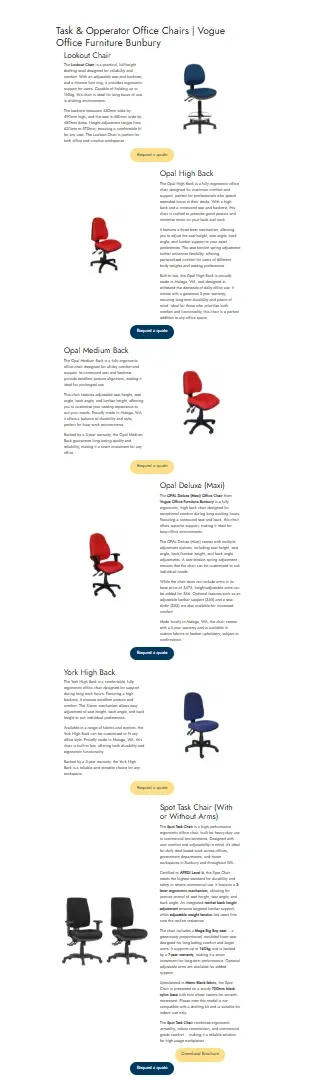
Single Product on a Page
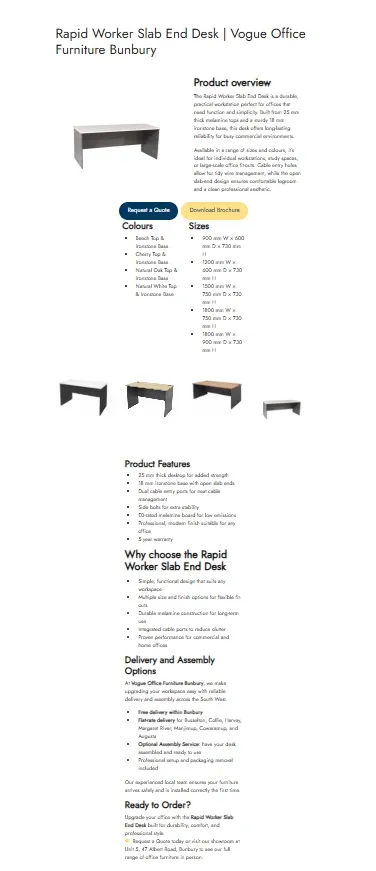
Product Listed with Multiple products
Multiple Products on a page
Product Pages vs Blog Posts
A Simple Explanation
Every customer goes through phases when buying products.
Product Page
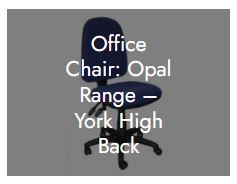
Product pages displays a product(s) you stock or sell.
Usally one specific product
Or sometimes a list of the same type of products (Like a comparison or the same sort of chairs)
Clear, factual, and practical
Helps customers compare and request a quote
Think: your digital showroom | online catalogue
Product Pages are for searches like Eronomic Office Chair Near Me
The buyers intent here is they are ready to buy, and they are looking for a place to buy it. They have completed the research phase and are now looking for the best deal near them.
Visual
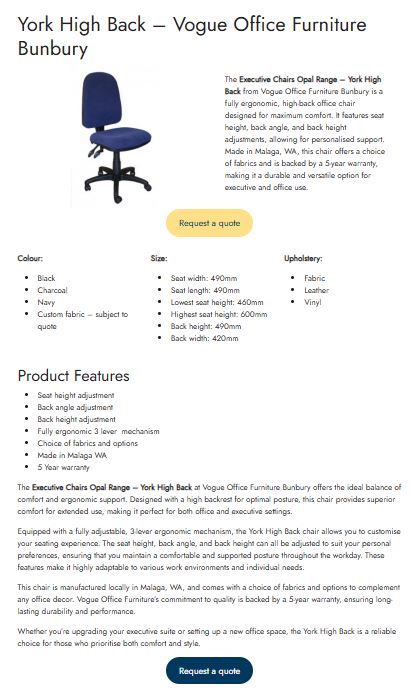
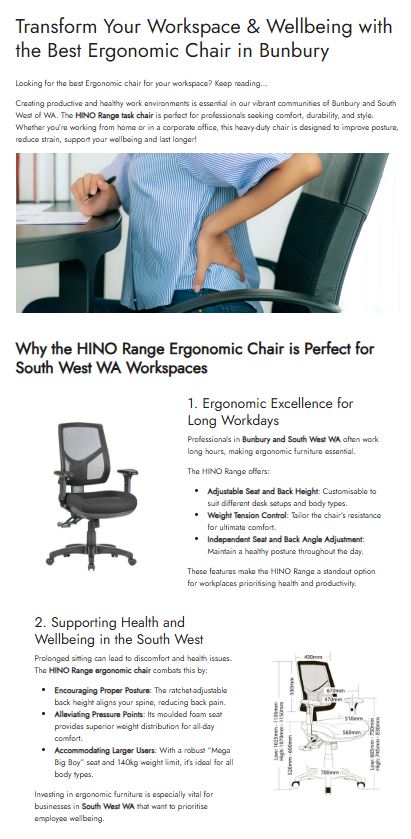
Blog Post

Blog posts are used to help with buyers intent (the reason they are searching).
Educational and helpful
Answer common questions customers ask
Build trust before someone is ready to buy
Think: the conversation before they visit your show room or buy
A Blog post will usally have recommend products that you stock, to suit some sort of purpose.
Blog Posts are for searches like What is the best chair that will help with long hours of sitting at my desk?
The buyers intent here, is research, they are looking for information, to fix their back pain by possibly buying a new chair. If you are apart of this phase, they are more likely to buy from you.
Visual
Other resources
A tidy toolkit of simple, friendly documents you can share with colleagues, save to your drive or print for your desk.
Vogue product update checklist (PDF)
A one‑page tick‑list covering everything you need before you press publish – from image sizes to pricing and categories.
Product data template (Excel/Sheets)
Pre‑formatted columns for names, SKUs, descriptions, dimensions and imagery references – perfect for bulk updates or new ranges.
Image & photography guide
Simple rules for getting crisp, consistent imagery that still feels playful – including recommended sizes, crops and background styles.
Copy prompts for product descriptions
A playful worksheet with fill‑in‑the‑blank prompts that help you write clear, on‑brand descriptions without staring at a blank page.
Frequently asked questions
A few quick answers so you can keep the site updated without breaking a sweat (or the layout).
What if I update something and it does not look quite right?
Take a screenshot of the page, note the URL and email it to our support team with a short description of what you were trying to do. We will fix the layout, send you a quick explanation and, if helpful, record a short Loom video showing the correct steps for next time.
Can I bulk‑upload lots of products at once?
Yes. Use the product data template in the Resource Library section to organise your information. Once it is complete, send it to us and we will either import it for you or guide your technical team through the import process, depending on your set‑up.
Do I need design skills to change product photos?
No design degree required. As long as your images are clear, well‑lit and roughly match the recommended sizes in the Image & photography guide, the site will handle the rest. If in doubt, send us a small selection and we will advise which work best.
How often should we refresh our product list?
Most clients review their catalogue monthly and do a bigger seasonal tidy‑up every quarter. Whenever you launch a new range, add it to the site at the same time as you brief your sales and marketing teams, so everything feels aligned.